The Fine Art Of Fatbike Tire Pressure
 Mike McGuire
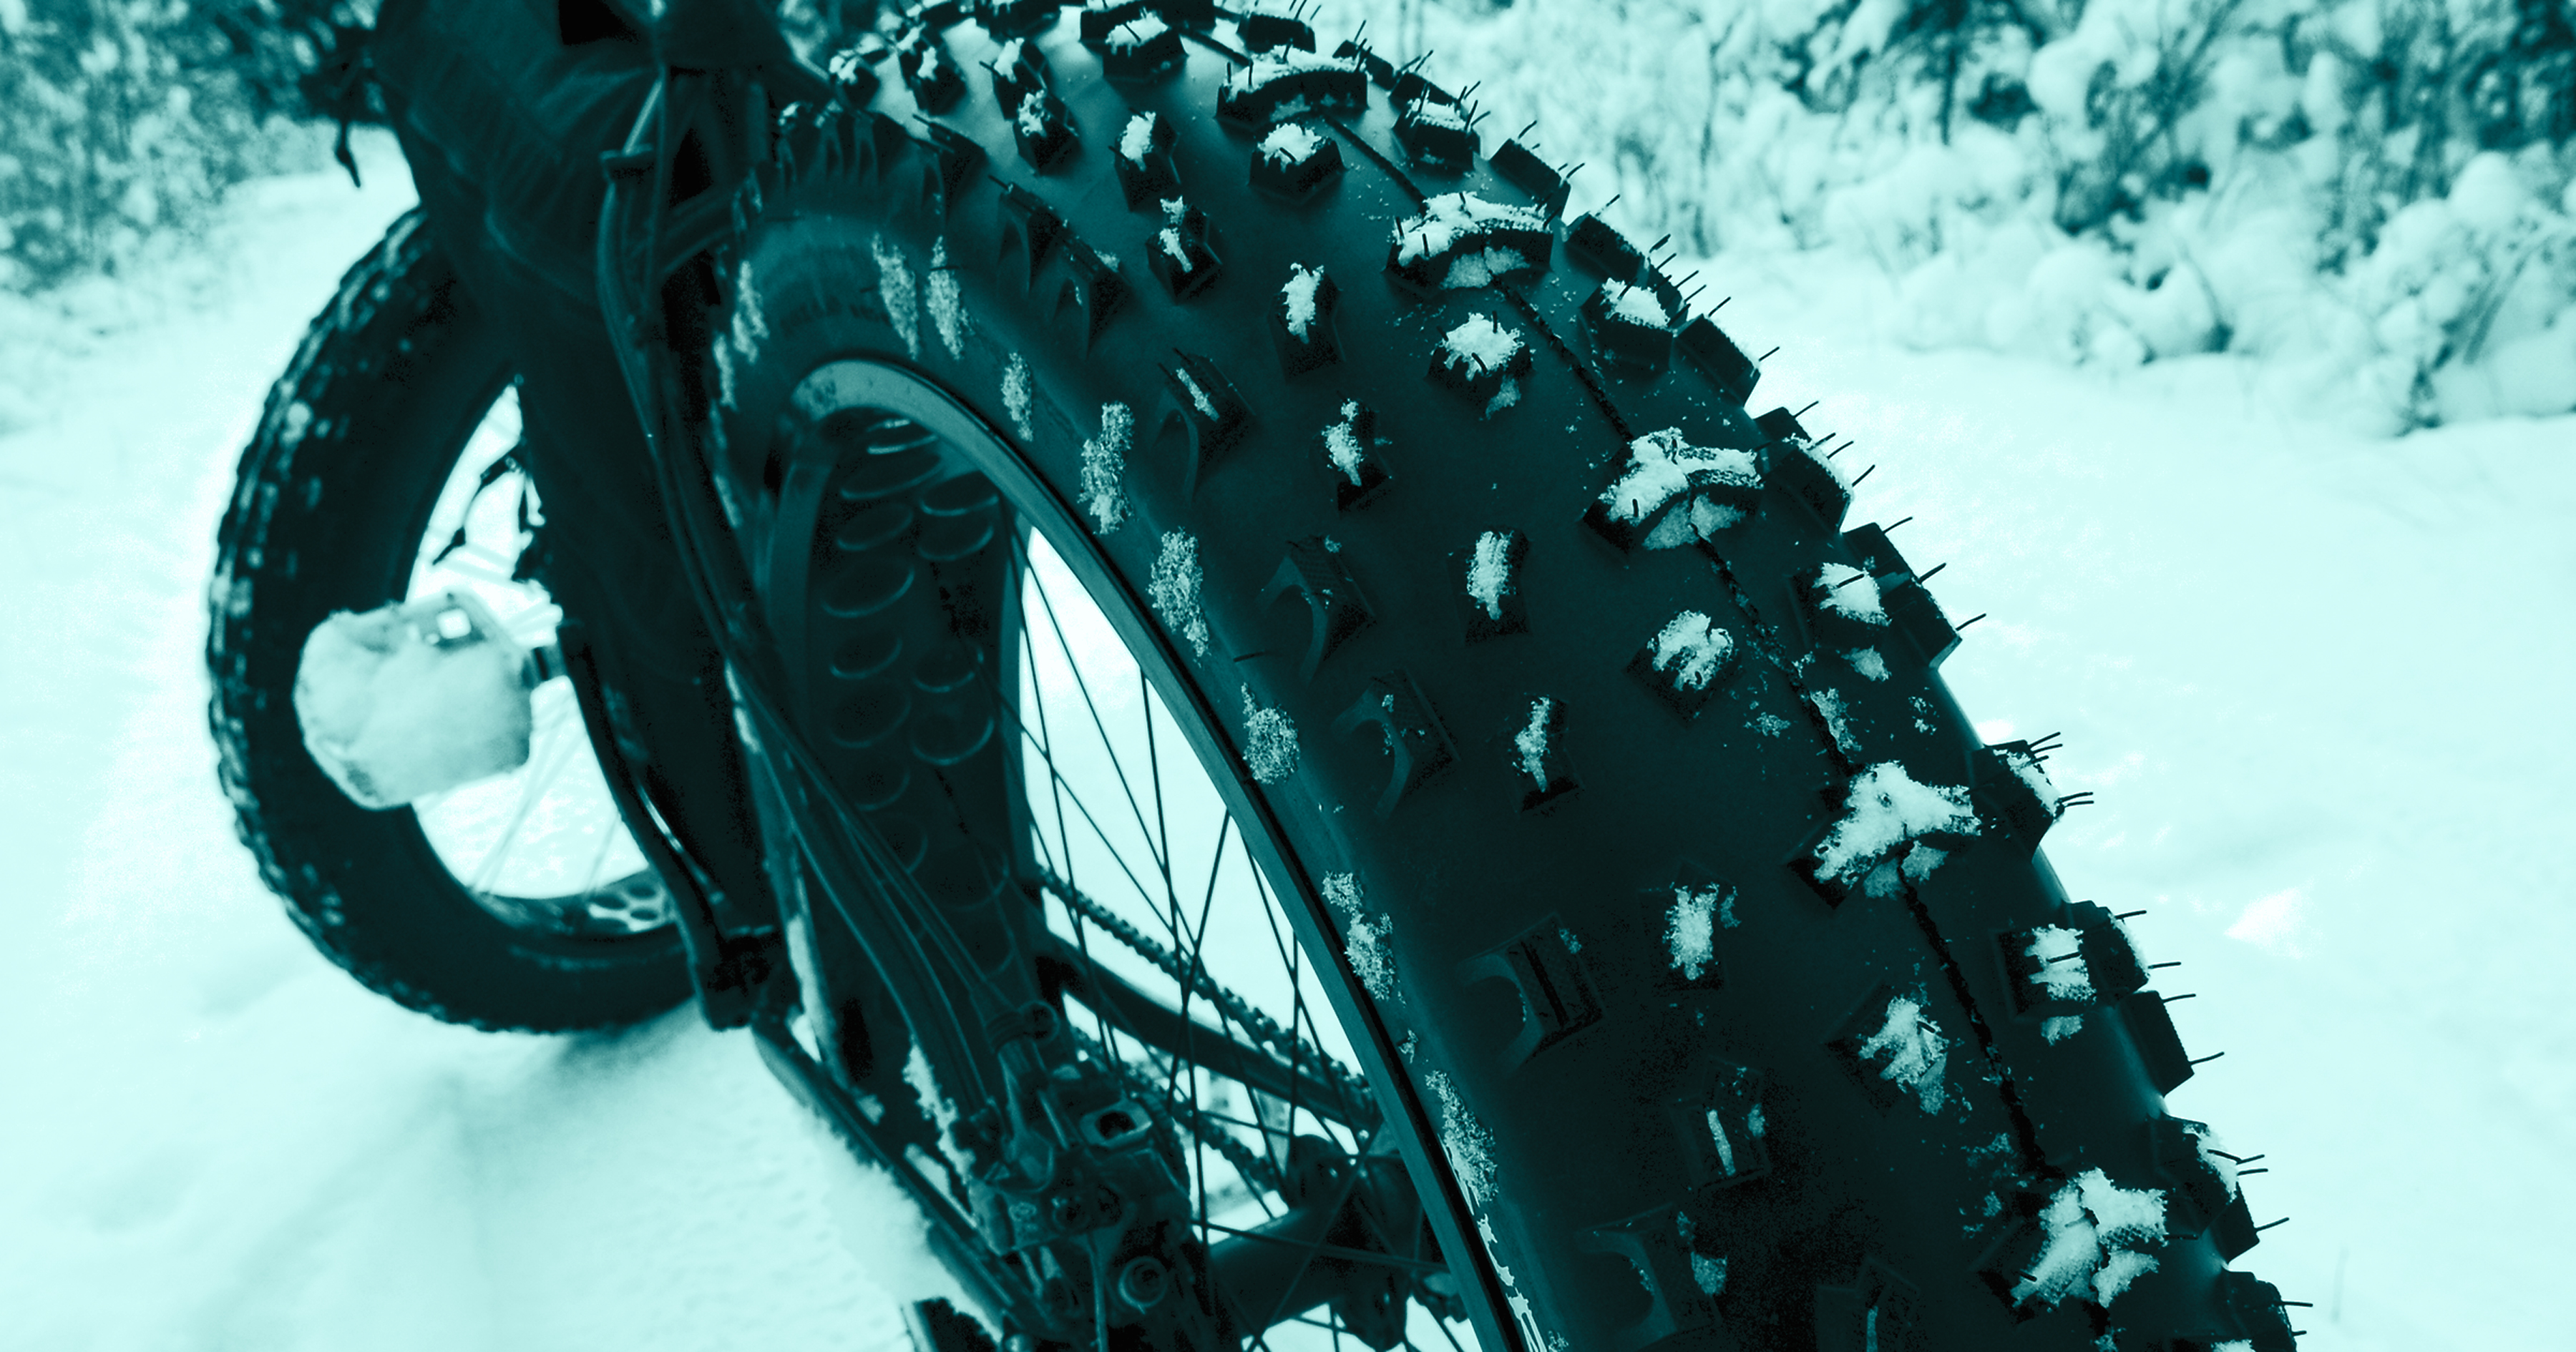
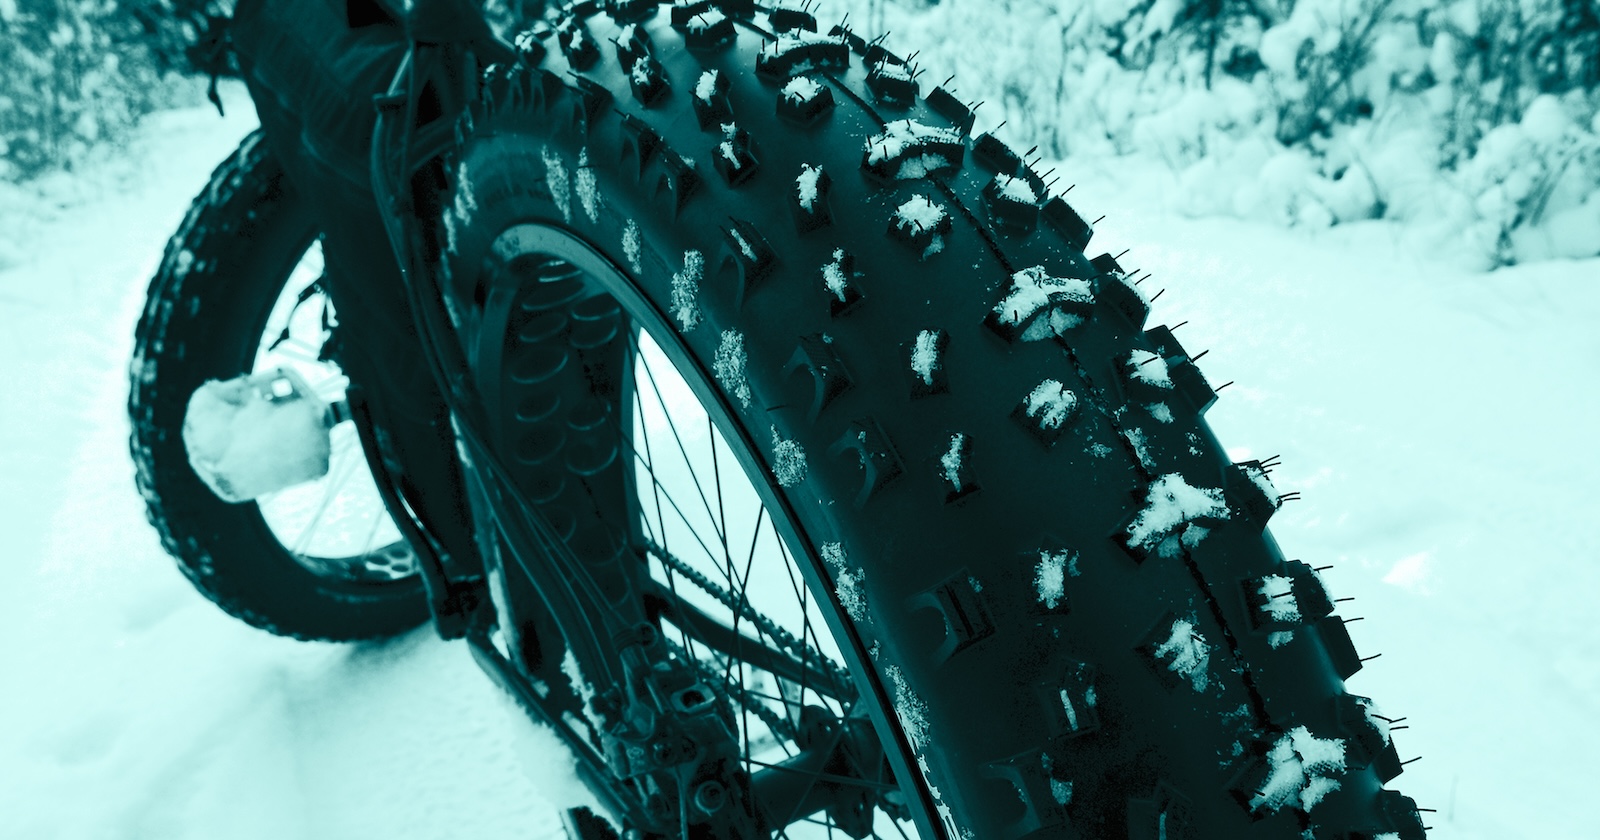
Winter biking. Still a novelty to some, it's become a go-to activity for many of us. No more off-season.
Once the snow finally accumulates every fat tire enthusiast is itching to get into the powdery goodness. After the snow flies, conditions are usually soft for a few days. If you’re used to riding the semi snow-covered or hard-packed trails, this may be a huge awakening for you. And then later in the season, it gets hard and icy.
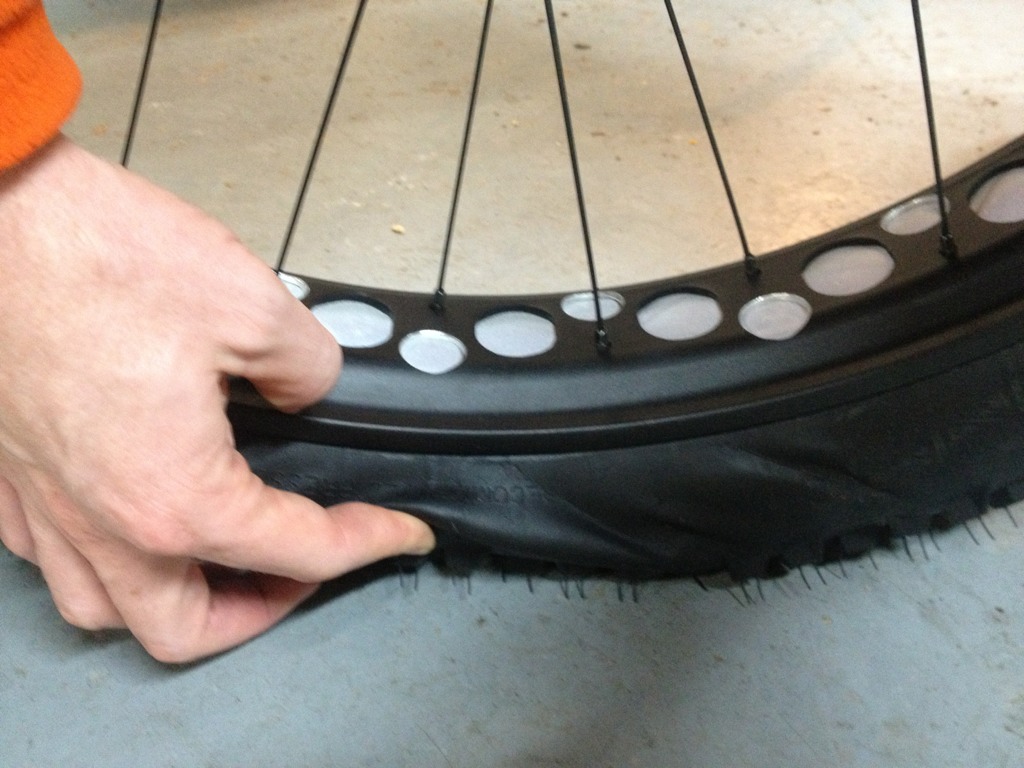
Tire selection and pressure can make or break your ride in sketchy or soft conditions. Good pressure means the difference between walking every hill or dancing up the grade. Wide tires with deep, well-spaced treads are your friend on powder days. But you can make any tire work by making sure your pressure is low enough.
It’s hard not to leave a rut in deep snow, but if you can’t track in a straight line, or your back-end is breaking loose when you pedal, your pressure is likely too high. You need to let out some air.
Tips for adjusting your fat tire pressure
1. Increase your contact patch
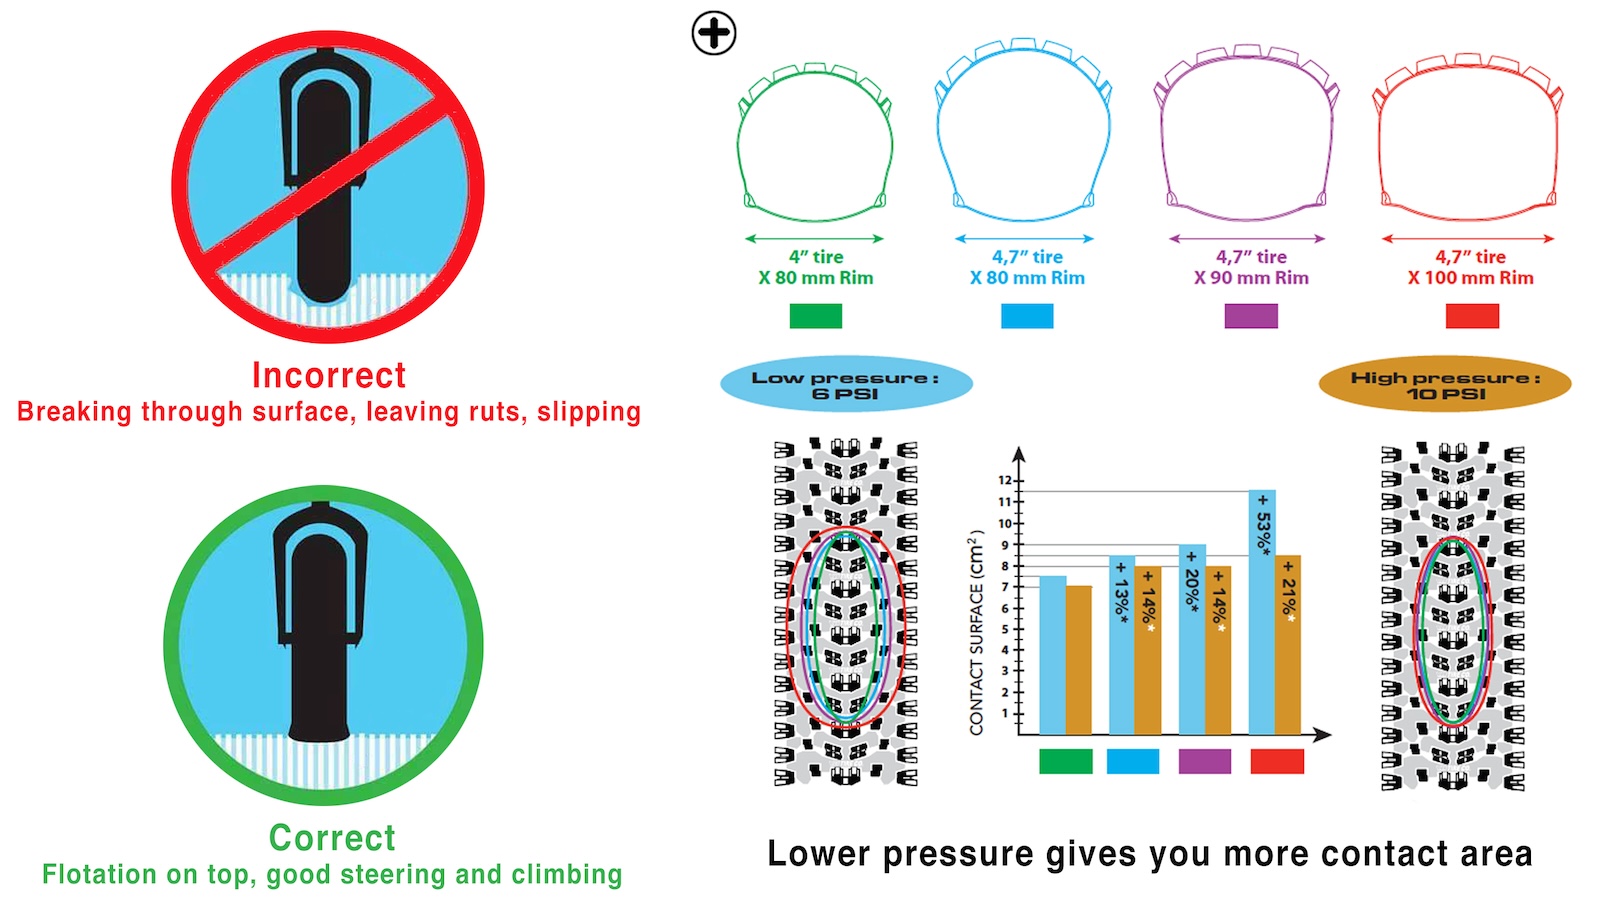
The key to achieving good traction in snow or sand is tire flotation. If you start riding and you find yourself breaking through the snow layers, leaving deeps ruts, slipping around corners and driving off the trail, you probably need lower tire pressure. The graphic below shows how 40% less air in your tire gives you 10 to 30% more contact patch for different tires width and rim combinations. This adjustment means that your tire will squish more to provide float and put more of your tire lugs in contact with the snow to provide traction for climbing and cornering. When conditions are bullet proof, more pressure can help regular tires to push into the hard surface; try a little more pressure to stiffen up those lugs to bite more. With studded tires, you want to adjust pressure to get as many of those sharp metal spikes digging into the ice as possible; your regular low pressures will be a good starting point. Be aware that when you are riding with studs and you lean your bike, at some point the studs will no longer be biting into the surface and your wheel could slip out from under you.
As a starting point, for hard conditions, and freezing temperatures, 6 - 10 psi is a good target pressure depening on rider weight. When conditions are soft and the temps are above 0º, anywhere from 1 - 4 psi can work well.
2. Start out with more pressure than you need
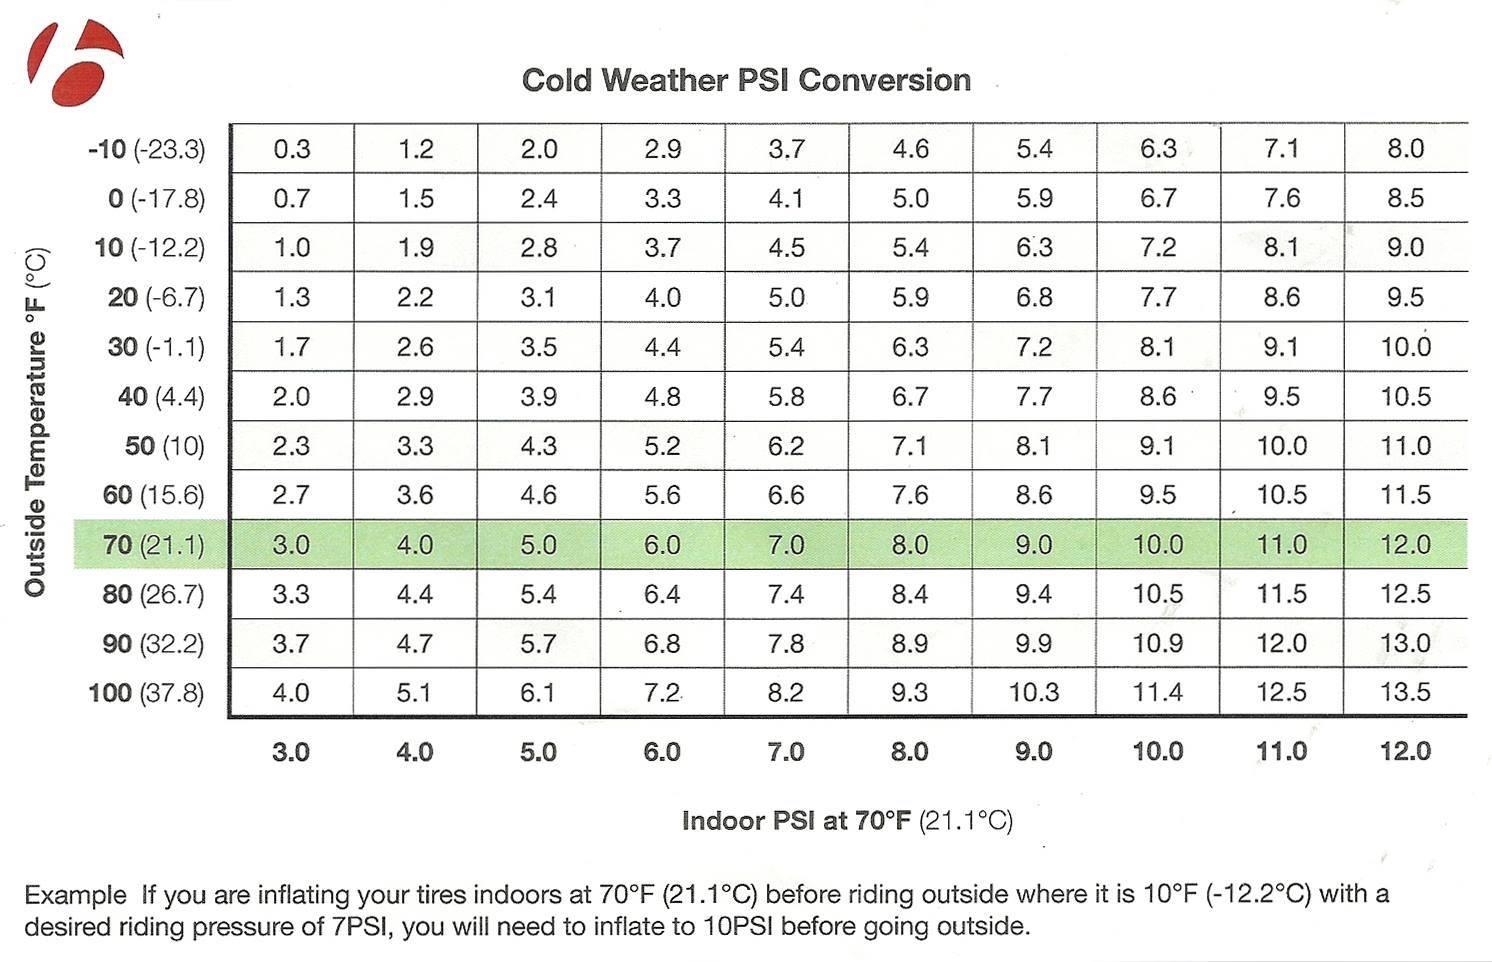
Fatbike tires have lots of volume and are generally a pain to pump up on the trail. Especially when it’s cold. A low-pressure gauge that measures 0-30 psi is the best way to set tire pressure. It’s a good idea to start with 8psi for medium riders and 10psi for Clydesdales and adjust down on the trail. The chart below tells you how much tire pressure to set indoors so when you head outside you get the pressure you want.
To find the lowest safest pressure for almost any tire of 4” or 5”, sit on your seat with your full weight on the tire, if the sidewall starts to pucker or fold a little bit, that is your safest low pressure.
BUT, you can easily pinch flat a puckering sidewall tire, even on smooth snow, and if you corner too aggressively you can pop the tire bead right off the rim. Practice unweighting your rear tire when you compress in trail dips or when you cross obstacles like sticks and rocks. Softer pressures also make your sidewalls more vulnerable to slicing and puncture, so it’s best not to lean the bike too much and sideswipe trail crap.
If you do need to add pressure on the trail, you will typically need about 80 strokes of a mid-volume pump to gain 1.25psi in a 4” tire and 1psi in a 5” tires. A 5” fat tire requires 8 CO2 cartridges to achieve acceptable tire pressure, so get a pump and stick it in your frame bag. You do have a frame bag right ?

3. Valve stems are removable
Most Fatbike tires with Presta valves have removable stems. You know that little thing you twist open at the end of the valve? Yeah those are removable. And if you haven’t ever tightened them using a valve tool or pliers, they like to unscrew and pop out when you are on the trail when it’s cold and you’re wearing gloves. It’s a good idea to make sure they are nice and snug BEFORE you head out riding. Some riders just leave the caps off too.
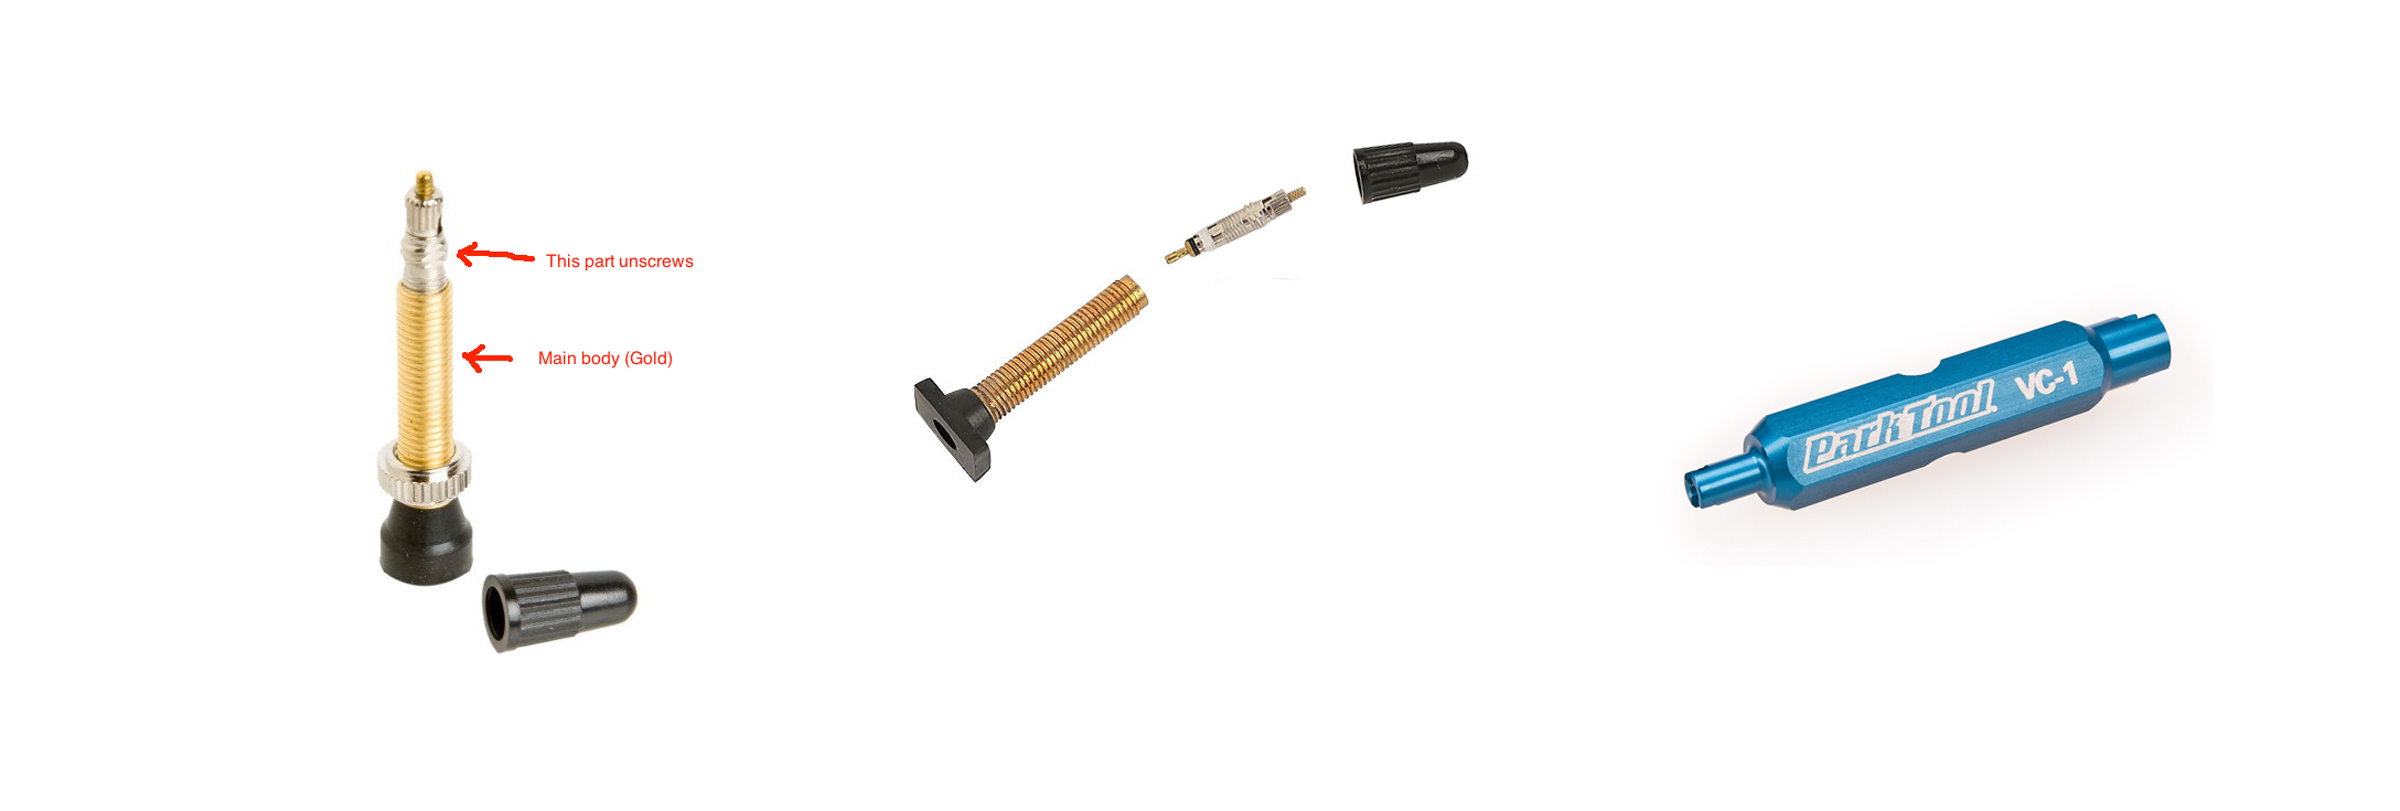
The blue thing is a valve tool.
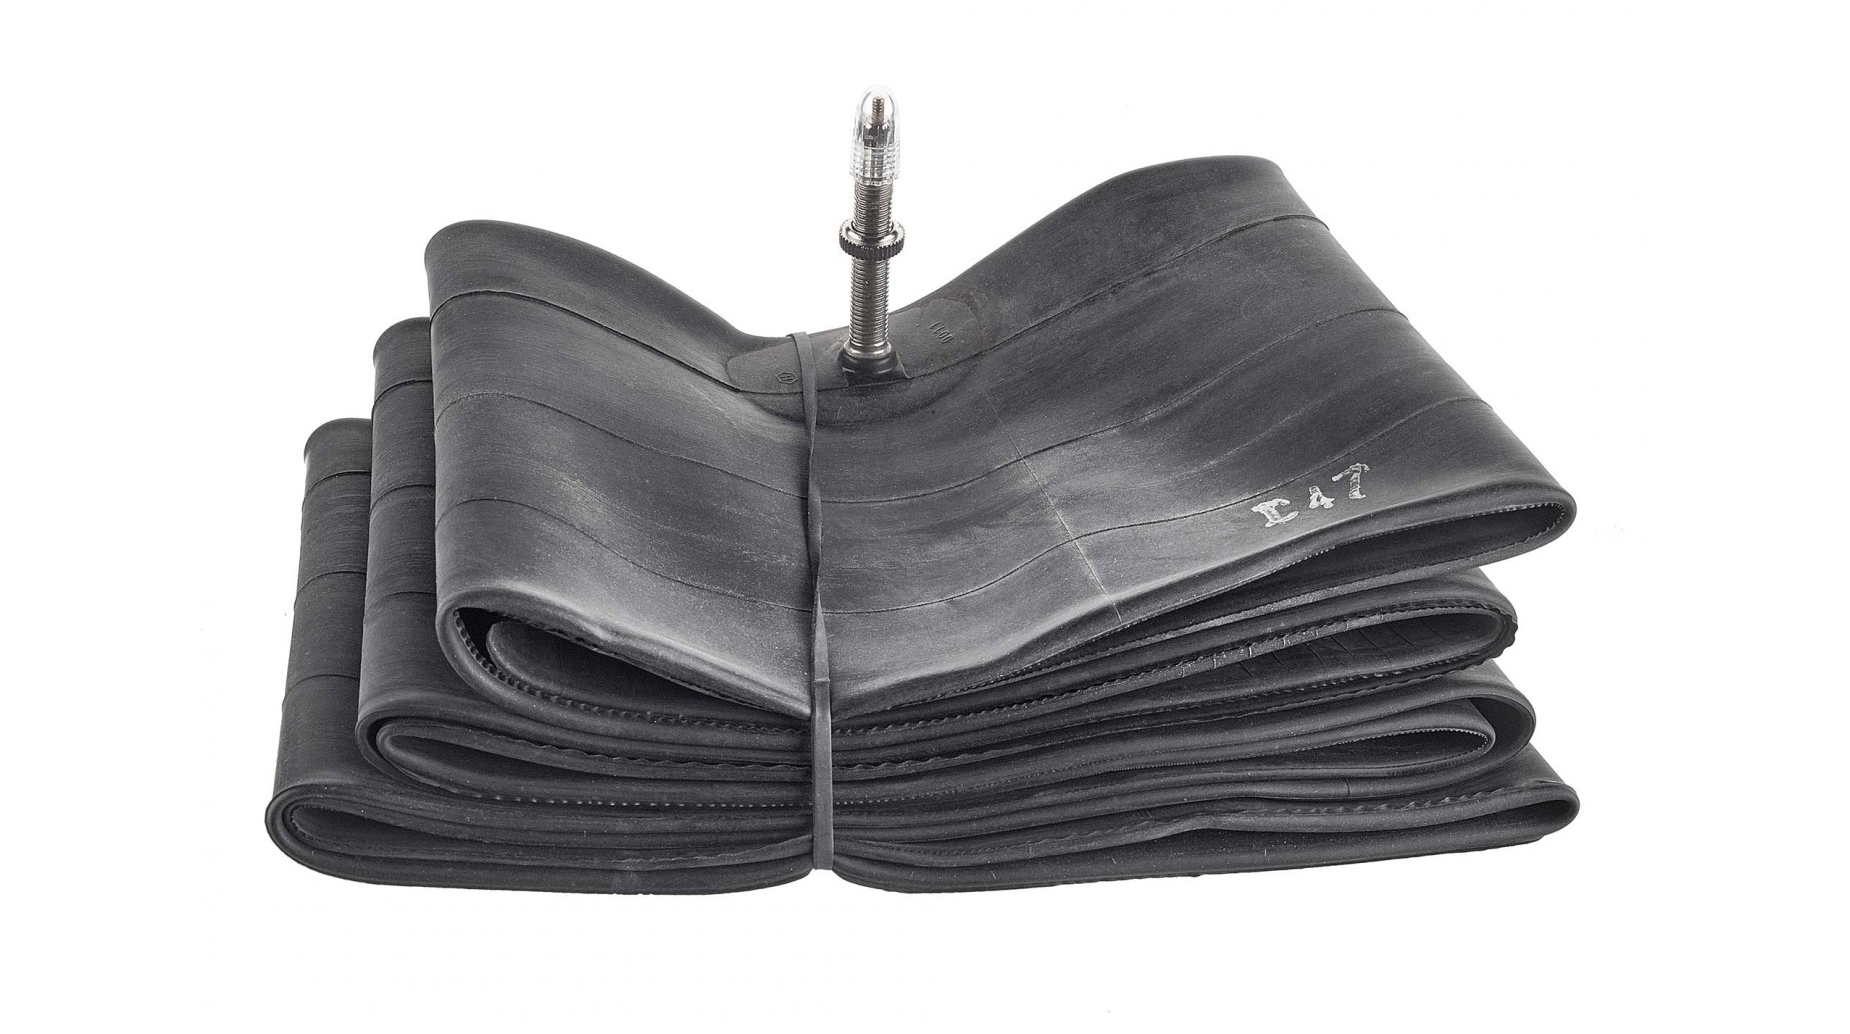
4. Bring a tube
Nothing is more exciting in sub-zero cold than watching a desperate, shivering friend try to re-set a failed or punctured tubeless tire with mittens on his or her hands. You kind of want to help, but you also feel somehow like this is part of Darwin’s Master Fatbike Plan. So instead you drink their trail beverage while providing additional advice. And then you have the dilemma of deciding whether or not to give them your spare Fatbike tube, and ultimately how much that tube + pump combo is worth to them at that moment in time. Ideally, you should have a few spare tubes in your crew when you head out on the trail. It is not worth trying to re-inflate a disabled tubeless wheel in the snow. Also, if you have a tear in a tubeless tire, you will NEVER fix it on the trail, in the snow. Put a tube in that wheel and get back to riding. You can debate the merits of tubeless later, again, at the pub.
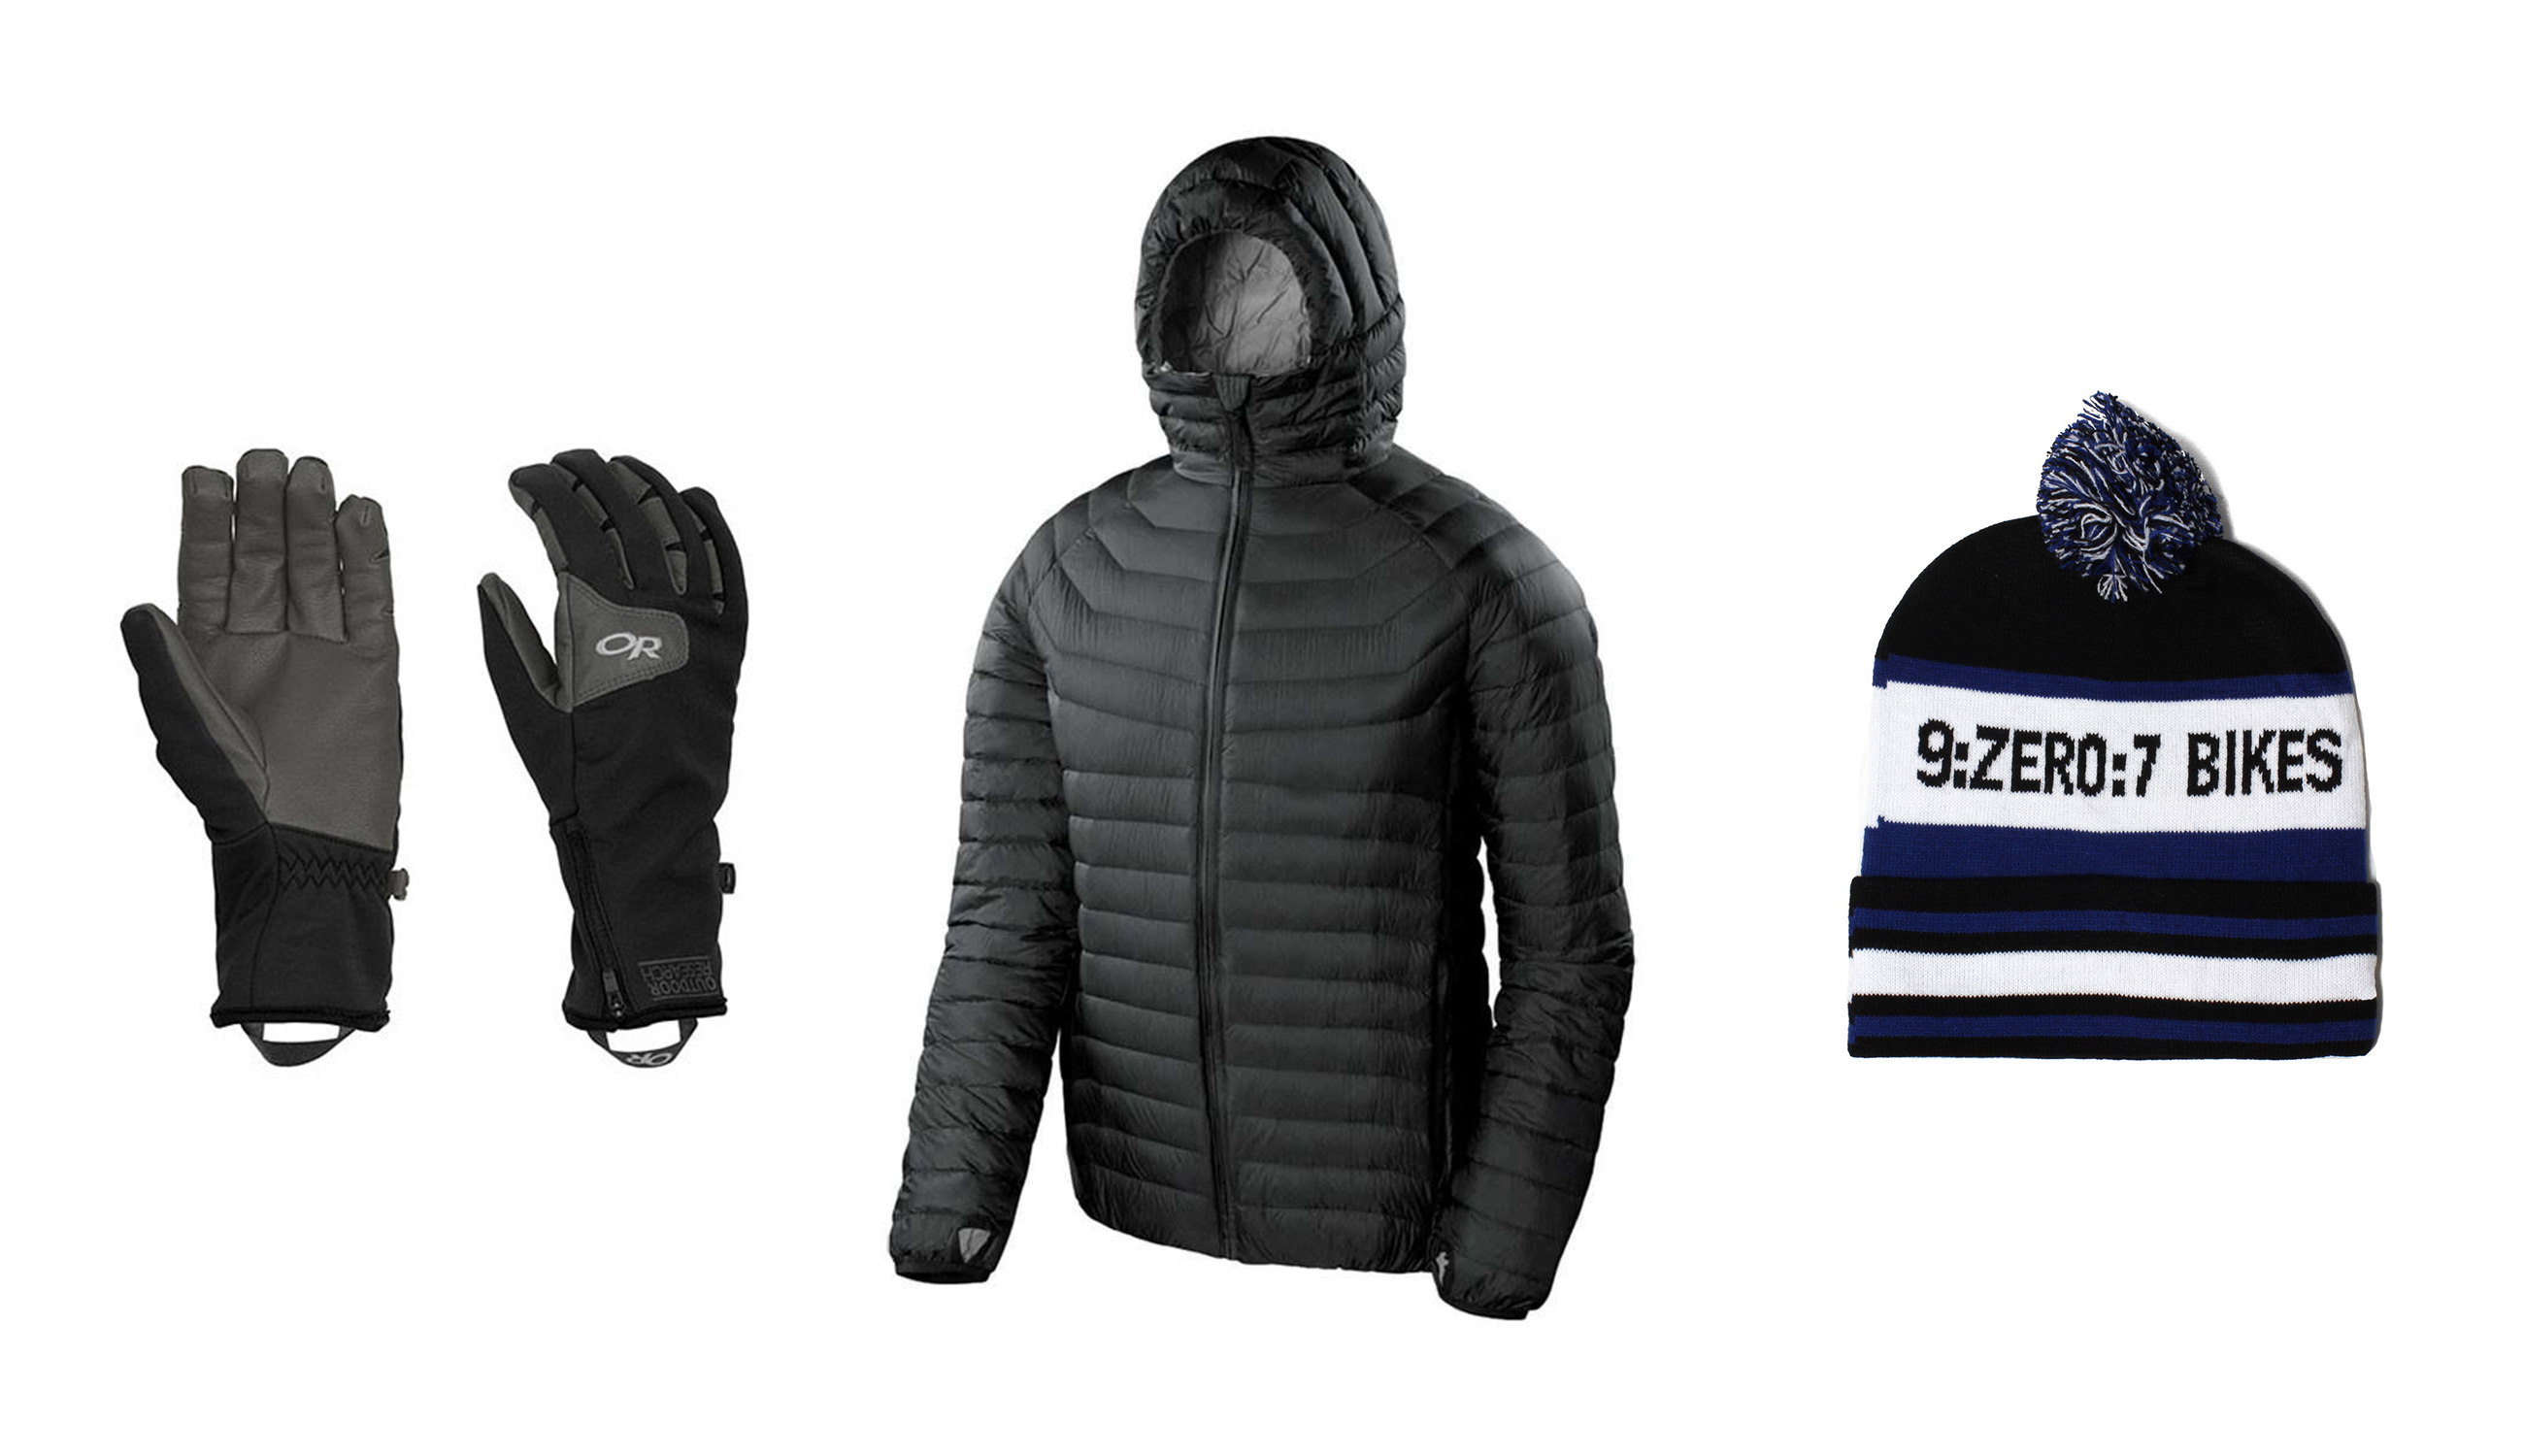
5. Bring extra clothing
If you’re out adventuring, it’s a good idea to have an extra layer of warmth that you can throw on when you stop for any length of time. When you stop riding, your body will stop producing heat, and the moisture in your clothing will start to freeze, and you will get very cold. This is why spandido riders cannot stop riding for more than a few seconds; they will die in under 2 minutes like a small Vole if they don’t keep moving.
Puffy coats are really the best thing to carry because you can stuff them into almost any frame bag or hydration pack, they are light weight, and provide maximum warmth. It’s never a bad idea to carry and extra dry toque, and a spare set of smaller gloves can make working on your bike a lot easier. And for good measure, get a few of those self-heating hand packs and just leave them in your pack for emergencies. Guaranteed if you are carrying it, you’ll never need it.
As always, remember to get a trail pass if required, stick to the designated fatbike trails, and respect the other trail users. Be friends with everybody!
Have fun out there !